
Clive Barker's Hellraiser Revival 100% Walkthrough: Route
Clive Barker's Hellraiser Revival 100% walkthrough: follow every objective, tackle bosses, and track collectibles and trophies through the final choice.
Jump to
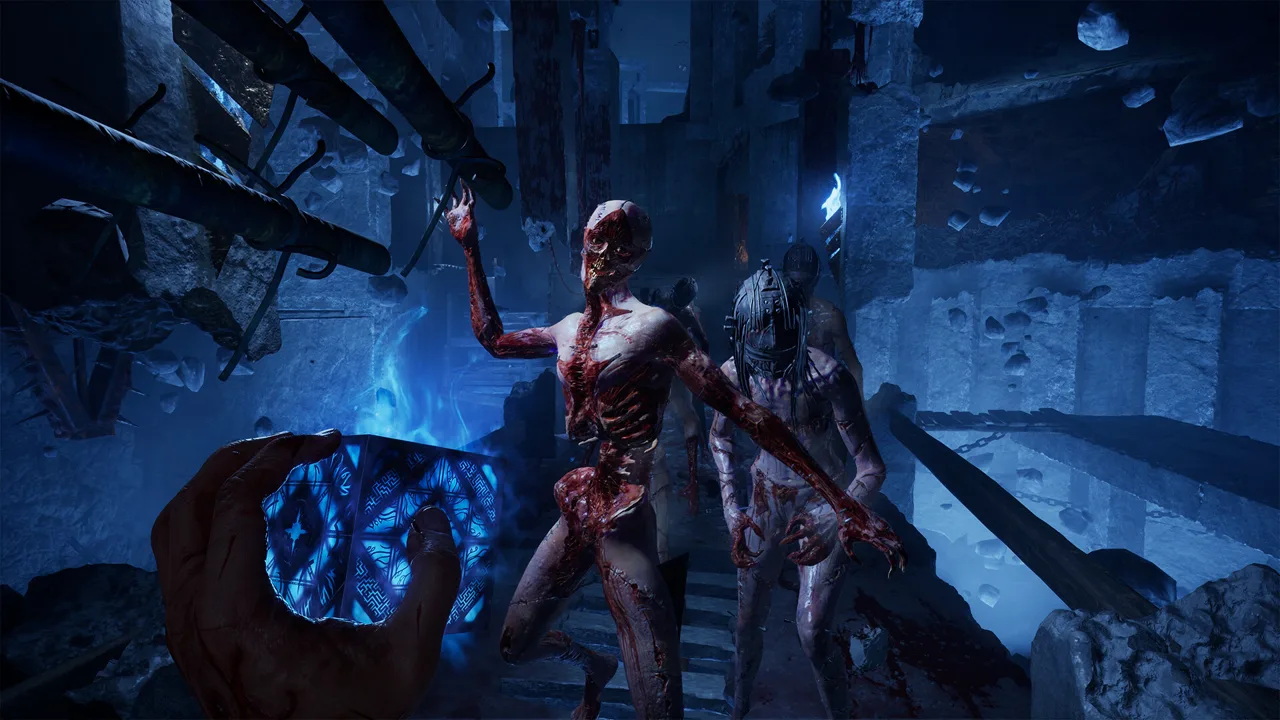
Opening Route: Escape the Cult and Reach the Club
The box is open, Sunny is gone, and getting out of the torture chambers is only the beginning. This Clive Barker's Hellraiser Revival 100% walkthrough keeps the campaign’s objectives in order so you can follow Aidan’s search without losing track of completion checks. Use this Clive Barker's Hellraiser Revival 100% walkthrough alongside the collectibles guide for each location and achievement tracking and trophy roadmap.
Full story spoilers follow, including the resurrection ritual and final choice. Follow the numbered route for campaign progression, then use the linked guides to check individual puzzles and completion requirements.
Escape the torture chambers
- Follow the opening nightmare into the cult’s underground chambers.
- Search accessible rooms for supplies, documents, and fragments as you work toward escape.
- Recover Aidan’s clothing and collect the Tongue Key.
- Continue toward Bruno’s territory and sneak past him.
- Work through the remaining escape objectives until you reach the underground club.
The early documents introduce Aidan Lynch, Sunny, the Scarlet Church, and the Genesis configuration. Read them during your room searches, and keep collectible tracking open alongside the route.
Use the Escape the Cult objective walkthrough for the local progression steps.
| Route checkpoint | Ordered objective | Completion check |
|---|---|---|
| Torture chambers | Search rooms and advance through captivity | Check documents and fragments before leaving each accessible area |
| Clothing and Tongue Key | Recover your belongings and continue | Review nearby pickups |
| Bruno’s territory | Sneak past Bruno and progress through the escape route | Finish accessible room searches |
| Underground club | Learn about the private VIP exit | Follow the VIP objective |
Find the VIP route and meet Zora
Inside the club, you learn that the main exit is sealed until dawn. The private exit through the VIP area becomes your destination.
Follow that route as the situation deteriorates. Continue through the hostile areas until you reach a save station and meet Zora Beckett.
Zora sells weapons, ammunition, healing supplies, recipes, and upgrades. Check your current inventory before spending: the Nailer is a Deluxe Edition item available at the first Zora shop, but purchasing it competes with immediate supplies. Sell valuables deliberately and leave room for what you buy.
Official page: Clive Barker's Hellraiser Revival (hellraisergame.com)
Telekinesis, the Labyrinth, and Sunny’s Resurrection
The next stretch takes you from armed resistance into the Labyrinth. Keep the story route and collectible checks together here: upgrades appear along the journey, including health and suffering increases.
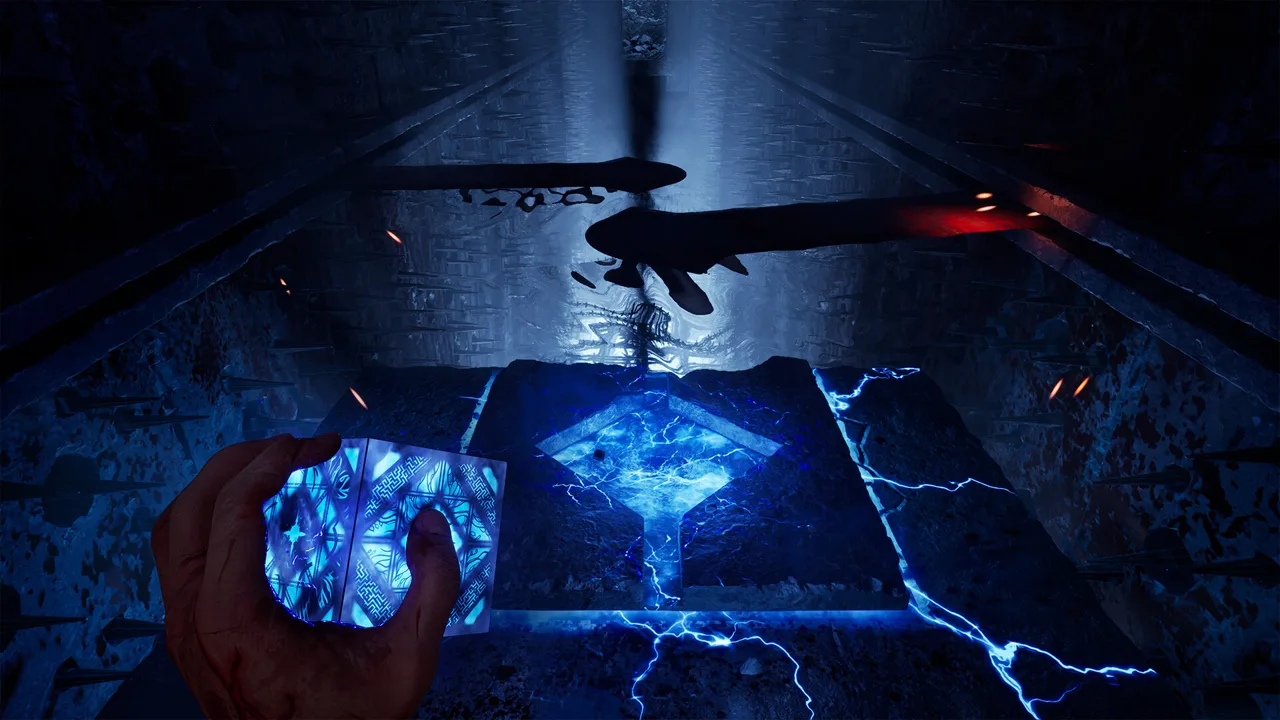 Image: Steam / Saber Interactive
This section of the Clive Barker's Hellraiser Revival 100% walkthrough ends with Sunny’s resurrection underway and a new hunt replacing the escape objective.
Unlock telekinesis and survive Charlotte’s pursuit
- Continue beyond Zora’s introduction until the Genesis configuration gains telekinesis.
- Use the ability during the following encounters and continue toward Charlotte.
- Run through the graveyard chase.
- After the chase, collect the shotgun and search the surrounding buildings.
- Find the keys needed to advance, then continue through the next Charlotte encounter.
Charlotte’s early appearances are pursuit and escape sequences. Keep moving toward the route forward instead of spending your ammunition trying to finish her here.
The buildings around this stretch contain documents about Charlotte and Sean, supplies, and an inventory expansion. Check the area collectible entries while searching for progression items.
Reach Sunny’s pillar
Enter the Labyrinth and follow the route toward the Field of Souls. Watch the moving hazards before committing to a crossing; the journey includes traps, traversal obstacles, and pursuit sequences.
At the Field of Souls, locate Sunny’s pillar and interact with the configuration puzzle. Complete that interaction, then follow the exit route.
| Route checkpoint | Ordered objective | Completion check |
|---|---|---|
| Telekinesis | Gain the configuration’s new ability | Review nearby supplies and save access |
| Graveyard chase | Escape Charlotte and continue through the buildings | Collect the shotgun and check inventory expansion |
| Labyrinth | Traverse hazards and reach the Field of Souls | Search accessible branches for upgrades |
| Sunny’s pillar | Complete the configuration interaction | Continue toward the resurrection ritual |
Begin the resurrection ritual
Return to the place where Sunny was taken and perform the blood ritual. Her return begins, but restoring her body requires further offerings from people carrying the mark.
Continue through the attack that follows and return to Zora. The next major objective is Charlotte, whose route is blocked by a locked gate connected to the surrounding statues.
Open Charlotte’s Gate and Claim Her Heart
Charlotte’s hunt is a substantial campaign section: statue parts, branching searches, Bruno, a cabin defense, and the fire ability all belong before her boss fight.
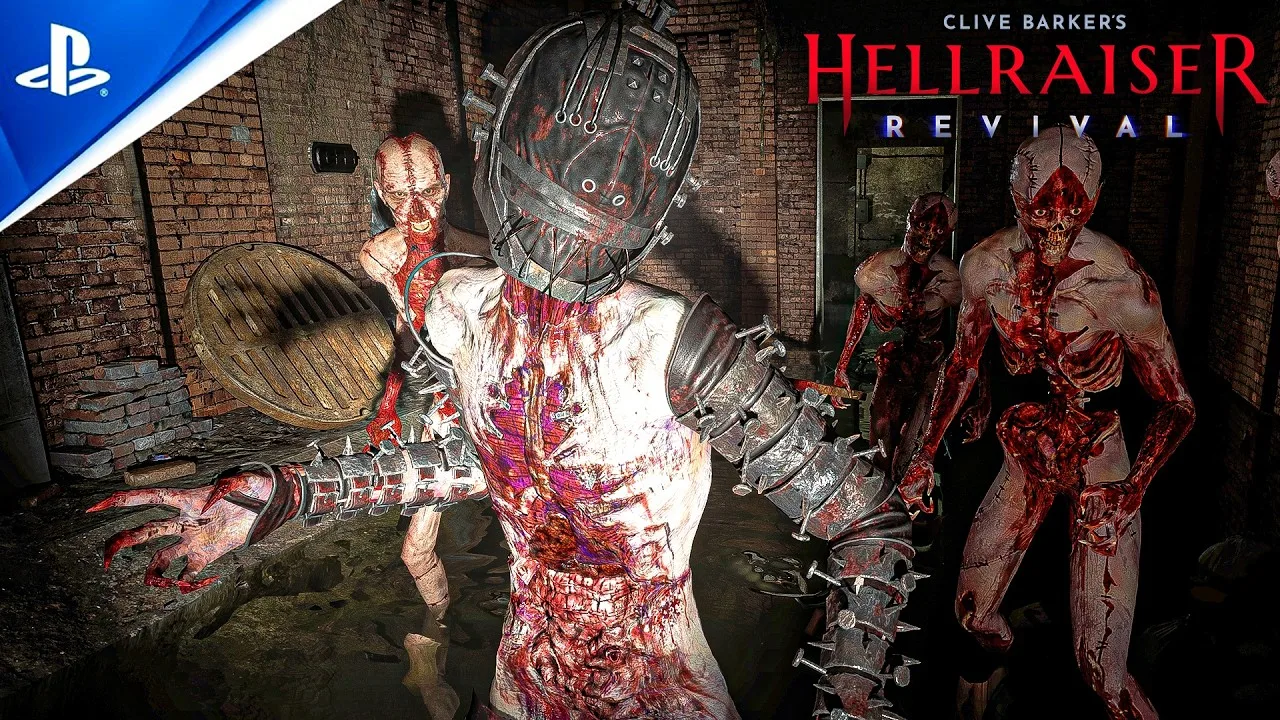
Keep this Clive Barker's Hellraiser Revival 100% walkthrough as your route checklist, and use the Open the Gate to Charlotte walkthrough for individual mechanisms.
Search the statue routes
- Speak with Zora near the locked gate.
- Explore the available paths and collect the bolt cutters.
- Continue into the basement route and fight Bruno.
- Resume the statue searches, collecting the required body parts and keys.
- Work through the connected security rooms, gas trap, and cabin route.
Bruno’s fight interrupts the search; defeating him does not complete Charlotte’s gate objective. Return to the statue progression afterward.
Several mechanisms involve rotating shapes and matching openings. Work from the shapes on the mechanism and follow the detailed objective guide for the local solution.
| Route checkpoint | Ordered objective | Completion check |
|---|---|---|
| Locked gate | Investigate the statues and surrounding paths | Track unfinished branches |
| Basement | Defeat Bruno and continue searching | Check the route beyond the encounter |
| Statue searches | Recover required parts and advance through connected rooms | Review documents, valuables, and supplies |
| Cabin | Survive the horde and collect the crank afterward | Locate wooden boards during the defense |
| Fire and puzzle blocks | Gain fire, collect the blocks, and continue the mechanisms | Prepare before entering Charlotte’s arena |
Survive the cabin and unlock fire
During the cabin defense, locate the wooden boards and use the barricade interactions. Repair your melee weapon when needed, and watch additional entry points as the attack develops.
After surviving, collect the crank and continue back toward the statue route.
The configuration’s fire power unlocks later. It consumes suffering, so monitor that resource while using it against groups. Continue the branching searches for puzzle blocks, finish the mechanisms, and return the required statue pieces.
Defeat Charlotte
Proceed into the battle area and through the police encounter to begin Charlotte’s boss fight.
Use fire during the fight, reposition between attacks, and handle the smaller enemies that enter the arena. Keep ammunition available when your suffering runs out.
After defeating Charlotte:
- Collect her heart.
- Search the arena before departing.
- Continue through the return route and collect accessible upgrades.
- Bring the heart back to Sunny as the resurrection progresses.
Use the boss fight guide for encounter details when preparing for Charlotte and the later bosses.
Sister of Mercy: Stealth Encounter, Boss Fight, and Heart Return
In this Clive Barker's Hellraiser Revival 100% walkthrough, the Sister of Mercy’s pursuit and her boss fight are separate campaign milestones. Complete both, then return her heart to Sunny before starting the later Hunt Marlowe route.

Survive her deadly game
Follow the stealth route through the Sister’s search area. Being caught during this encounter is lethal, so use concealment and move when you have an opening.
Continue beyond the pursuit into the Labyrinth’s traversal sequences. Work through the hazards, inspect accessible side routes for upgrades, and proceed until Aidan receives another configuration power.
The campaign then leads through further cult rooms and progression items toward the Sister’s combat encounter.
| Route checkpoint | Ordered objective | Completion check |
|---|---|---|
| Stealth encounter | Evade the Sister and escape her search | Reach the following traversal section |
| Labyrinth and cult rooms | Cross the hazards and continue the objective route | Check accessible upgrades and documents |
| Sister boss fight | Defeat her and collect her heart | Review the arena before returning |
| Sunny | Deliver the Sister’s heart | Continue when the objective becomes Hunt Marlo |
Fight the Sister of Mercy
Keep moving during her fast approaches and watch for periods when she blocks attacks. Save ammunition for an opening instead of firing continuously into her defense.
Use the configuration’s powers alongside your weapons, and respond to the fight’s changing attack sequences. Keep healing supplies accessible so you can recover between exchanges.
After defeating her, collect her heart and return it to Sunny. Visit Zora along the route if you need supplies or want to sell valuables.
Sunny’s condition changes again after the offering. Follow the new objective to hunt Marlo. This heart delivery is the campaign checkpoint connecting the Sister’s section to the raised bridge route.
Hunt Marlowe, Defeat the Prophet, and Make the Final Choice
The final stretch of this Clive Barker's Hellraiser Revival 100% walkthrough begins with the raised bridge and continues through another Bruno encounter, the Prophet’s chambers, and Marlo’s boss fight.
Use the Hunt Marlowe objective walkthrough for the connected gates and mechanisms.
Cross the bridge and survive Bruno’s return
- Use fire at the raised bridge mechanism to bring the crossing into position.
- Continue through the cult areas and configuration gate puzzles.
- Visit Zora to replenish supplies.
- Defeat Bruno when he returns for another fight.
- Advance into the Prophet’s underground chambers.
Prepare for Bruno with ammunition, healing, and a usable melee weapon. His rematch includes interruptions and renewed attacks, so keep watching for his return after he moves away.
| Route checkpoint | Ordered objective | Completion check |
|---|---|---|
| Raised bridge | Use fire to activate the crossing | Continue the Hunt Marlowe objective |
| Bruno rematch | Defeat him and advance | Check weapon condition and supplies |
| Prophet’s chambers | Operate the crank and elevator route | Search accessible rooms |
| Deeper chambers | Continue through combat and switch mechanisms | Review upgrades and collectibles |
| Marlo and Sunny | Defeat Marlo, deliver his heart, and reach the final choice | Finish campaign and trophy tracking |
Reach and defeat Marlo
In the underground chambers, find the crank-operated elevator and continue through the armed cultists. Follow the route through Marlo’s attempted transformation and into the deeper combat areas.
Search for the switches needed to advance. Before the boss, use Zora’s shop and the save station along the approach.
Marlo’s fight combines direct combat with arena interactions. Watch the changing setup and use the overhead drop interaction when it becomes part of the encounter. Reposition before attempting it while he is pursuing you.
After defeating him, collect his heart and return to Sunny. Deliver it to complete the next stage of her restoration, then continue through Aidan’s required offering.
Finish your completion checks
The final sequence presents a choice between returning to human life and accepting a new eternity with the Cenobites.
Finish your Clive Barker's Hellraiser Revival 100% walkthrough checklist in campaign order:
- Reconcile each area with the collectibles guide.
- Review health, suffering, and inventory upgrades.
- Check achievement requirements through the trophy roadmap.
- Complete the final choice and review the resulting ending.
Keep story completion and trophy completion as separate checklist entries. Use the trophy roadmap’s completion order to organize any remaining requirements.
FAQ
What does this Clive Barker's Hellraiser Revival 100% walkthrough cover?
It provides the campaign route from the opening captivity through Charlotte, the Sister of Mercy, Marlo, and the final choice. The linked collectible and trophy guides handle detailed completion tracking.
When do you return the Sister of Mercy’s heart to Sunny?
Return it after defeating the Sister in her boss fight. That delivery comes before the later Hunt Marlowe objective and raised bridge route.
How do you cross the raised bridge while hunting Marlowe?
Use fire at the bridge mechanism. The crossing moves into position so you can continue toward the later cult areas.
Does defeating Marlo finish the campaign immediately?
No. Collect his heart, return it to Sunny, and continue through Aidan’s offering and the final choice.
Continue with
Hellraiser Revival Escape The Cult Walkthrough GuideClive Barker's Hellraiser Revival Escape the Cult walkthrough covers Bruno, both keypad codes, the pistol, and the VIP route. Follow each step to escape.More in Guide
Clive Barker's Hellraiser Revival Hunt Marlowe Walkthrough
Follow our Clive Barker's Hellraiser Revival Hunt Marlowe walkthrough for keypad codes, bell puzzles, hidden upgrades, and the final boss. Finish the hunt.
Hellraiser Revival Open The Gate To Charlotte Walkthrough
Clive Barker's Hellraiser Revival Open the Gate to Charlotte walkthrough covers statue parts, the mansion safe, Bruno, and the well puzzle. Open the gate.
Clive Barker's Hellraiser Revival Guide: Survive Hell
Use this Clive Barker's Hellraiser Revival guide to solve puzzles, conserve ammo, defeat bosses, and avoid missable trophies. Prepare for the Labyrinth.

Clive Barker's Hellraiser Revival How Long to Beat: Hours
Clive Barker's Hellraiser Revival how long to beat: plan for a 15-hour story, a run near 20 hours, or 30–35 hours for full completion. See what adds time.
Join the community
Official channels for news, updates and player help: