Clive Barker's Hellraiser Revival collectibles Guide
Find Clive Barker's Hellraiser Revival collectibles with firearm locations, all crafting recipes, pillar routes, and missable upgrades. Plan your run now.
Jump to
Before You Start: Collectible Counts and Missables
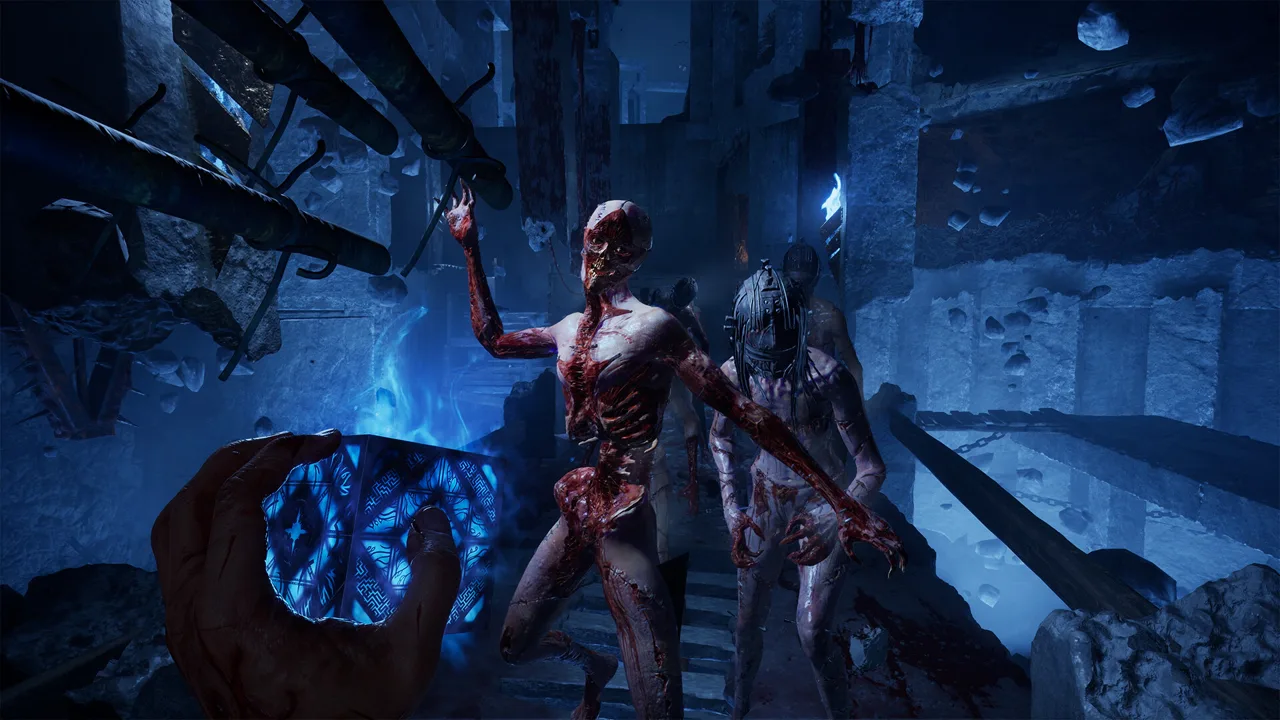
Missing a side room can leave a permanent hole in your Clive Barker's Hellraiser Revival collectibles checklist. With no chapter select, grabbing weapons, recipes, and pillar artifacts as you progress matters for both survival and achievement completion. This Clive Barker's Hellraiser Revival collectibles guide organizes the hunt around your Objectives menu so you can check each area before moving on.
The achievement-related checklist contains 27 collectibles. Notes and documents provide additional lore, but collecting them is not required for trophies or achievements. Inventory expansions and weapon attachments are also worth tracking, although they sit outside that 27-item total.
| Collectible type | Total | Completion requirement or benefit |
|---|---|---|
| Firearms | 5 | Acquire every firearm for Guns, Lots of Guns |
| Crafting recipes | 12 | Collect every recipe for Librarian |
| Pain Pillars | 5 | Activate every pillar for There Are No Limits; increases health |
| Suffering Pillars | 5 | Activate every pillar for Pain And Pleasure, Indivisible; increases Suffering |
The game follows objectives rather than a traditional chapter structure. Check the Objectives menu whenever you need to match your progress to a location below; the broader objective also appears on your save file.
A good approach is to keep manual saves before difficult sections and inspect side paths before completing objectives. Some later maps may display missing areas or incorrect player positions, so use environmental landmarks alongside the map.
For managing Clive Barker's Hellraiser Revival collectibles, shop storage is especially useful. Items labeled Treasure exist to be sold, and you can sell stored Treasure at shops without first moving it into your inventory.
Official source: Clive Barker's Hellraiser Revival (hellraisergame.com)
All Firearm Locations
Two firearms arrive early, while the remaining weapons require a mansion puzzle or purchases from Zora. Shop availability changes with story progress, making return visits part of the collection route.
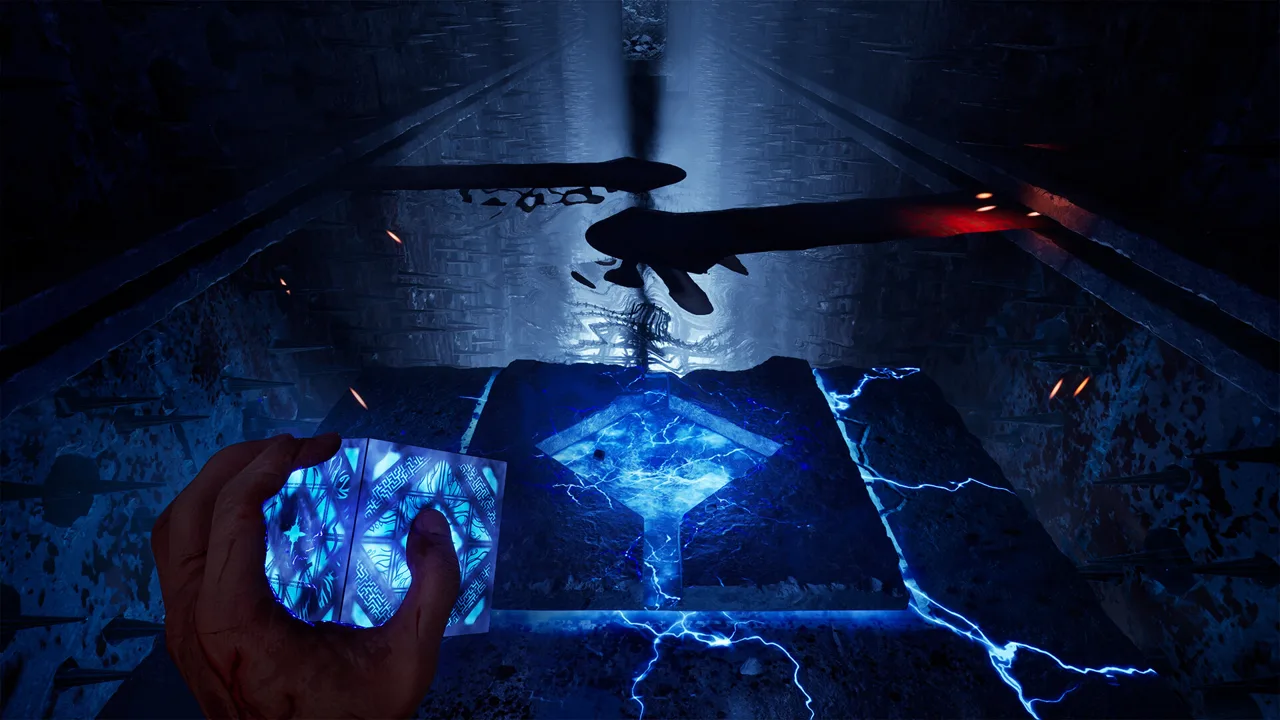 Image: Steam / Saber Interactive
| Firearm | Objective or milestone | Location or acquisition |
|---|---|---|
| Pistol | Escape the Cult → Outrun the Chatterer | Automatically acquired after obtaining the flashlight and restoring power to open the metal door |
| Shotgun | Escape Charlotte → Find a Way Out of the Graveyard | On the body beside you after the fall into the graveyard and the foot-repair sequence |
| SMG | Open the Gate to Charlotte → Find a Statue’s Missing Part | Inside the large safe upstairs in the mansion |
| Revolver | Open the Gate to Charlotte → Complete the Second Statue | Buy from Zora at the second shop for 300 coins after collecting the Statue’s Head |
| Assault Rifle | Hunt Marlowe, at the third shop | Buy from Zora for 450 coins |
For the mansion safe, rotate the discs so the four gold sections meet in the center, with the left, right, and bottom slots touching it. From the untouched starting arrangement, the listed sequence is Left, Top, Top, Top, Top. The safe also contains an inventory capacity upgrade.
Buying the Assault Rifle completes the firearm checklist if you collected the other four. You can place it in storage afterward, but bring it back into your loadout when its AP Rounds upgrade becomes available.
That attachment matters for Trickshot, which requires killing at least two enemies with one shot. After collecting the Hobby Horse and opening the next door, weak zombified Cultists rush toward you. A good approach is to line up two and fire the AP-equipped Assault Rifle through them.
If you reload the earlier autosave to retry, remember that it returns you to the area's entrance. Collect the upgrades you picked up during that attempt again.
All 12 Crafting Recipes and Shop Unlocks
Clive Barker's Hellraiser Revival collectibles include recipes granted automatically and recipes sold at specific story milestones. Check Zora’s stock after returning with statue parts and after later Labyrinth sequences.
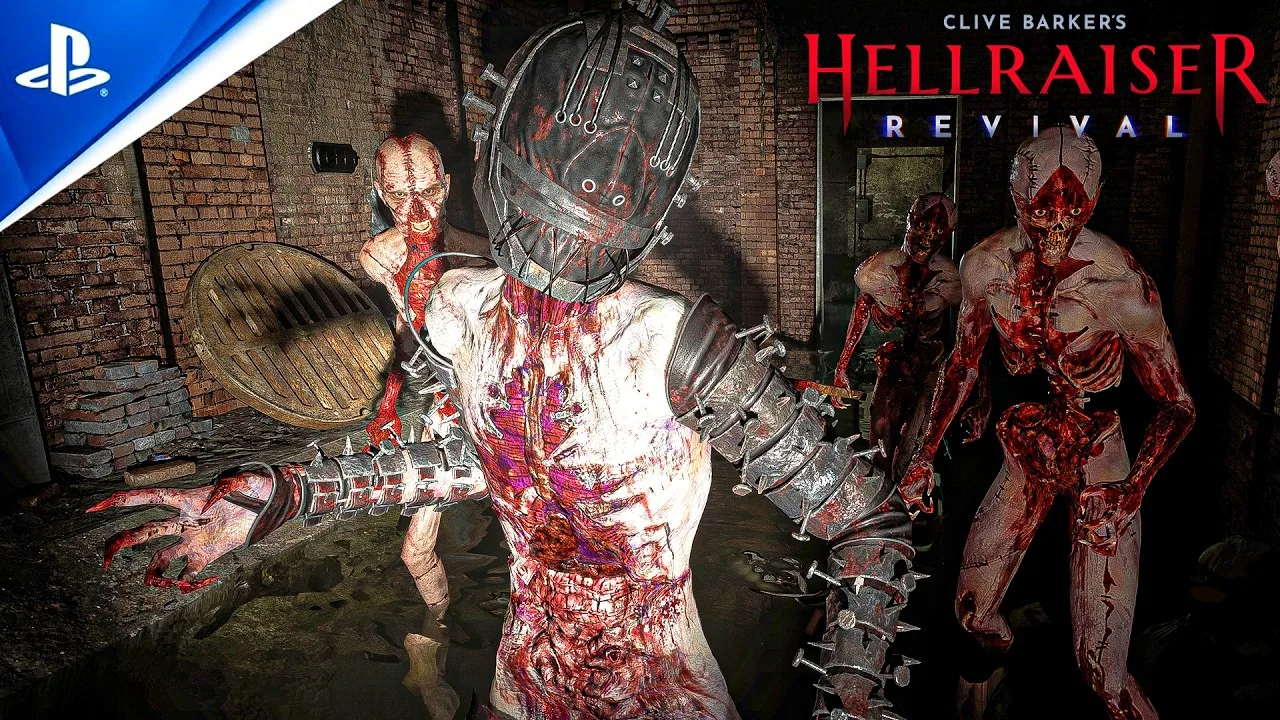 Image: YouTube / Champs Network
| Recipe | Unlock location or milestone | Price | Ingredients |
|---|---|---|---|
| Bandage | Available from the beginning | — | 3 Cloth + 1 Chemicals |
| Pistol Ammo | Granted with the Pistol | — | 3 Scraps + 2 Gunpowder |
| Medkit | Zora’s first shop | 200 coins | 2 Cloth + 4 Herbs + 1 Chemicals |
| Lockpick | Zora’s first shop | 120 coins | 3 Scraps + 3 Coils |
| Basic Repair Kit | Zora’s first shop | 120 coins | 1 Scraps + 1 Cloth + 2 Coils |
| Advanced Repair Kit | Second shop during Open the Gate to Charlotte | 180 coins | 2 Scraps + 1 Cloth + 1 Chemicals + 2 Coils |
| Ammo Pack 12-Gauge | Second shop during Open the Gate to Charlotte | 220 coins | 3 Scraps + 1 Cloth + 3 Gunpowder + 1 Chemicals |
| Ammo Pack 9mm | Second shop after retrieving the Statue’s Hand and leaving the mansion | 140 coins | 2 Scraps + 3 Gunpowder + 2 Coils |
| Bear Trap | Second shop after retrieving the Statue’s Tongue | 120 coins | 3 Scraps + 2 Coils |
| Fuel Can | Second shop after retrieving the Statue’s Tongue | 180 coins | 2 Scraps + 3 Chemicals |
| Ammo Pack .357 | Zora’s third shop during Hunt Marlowe | 180 coins | 2 Scraps + 4 Gunpowder + 1 Chemicals |
| Ammo Pack 7.62 | Third shop after returning from the Labyrinth, during Get to Marlowe | 200 coins | 4 Scraps + 4 Gunpowder |
Librarian and Artificer have different requirements. Collecting every recipe earns Librarian; crafting every craftable item earns Artificer. Owning the recipes alone does not satisfy both.
Crafting materials are randomized. Reloading a save and breaking the same crate can produce different contents, so there is no fixed location schedule for assembling every item. A good approach is to track what you have crafted and use the ingredient list to decide what to retain.
Lockpicks deserve attention because a later cabinet contains the SMG Linear Compensator. During Find the Statue’s Tongue, descend the well using the four puzzle boxes, then inspect the southwestern room and open its cabinet with a lockpick.
Pain Pillar and Suffering Pillar Locations
The pillar portion of Clive Barker's Hellraiser Revival collectibles takes you through several Labyrinth visits. Interact with each artifact: the completion achievements require activation, rather than simply reaching its room.
 Image: YouTube / DStrike
| Pillar | Objective or sequence | Route landmark |
|---|---|---|
| Pain #1 | Free Sunny’s Soul | After the first moving diamond obstacle hallway, turn right at the intersection with the bloody wall opening; cross the room with four more obstacles |
| Suffering #1 | Free Sunny’s Soul | After the descending-ceiling and spiked-wall section, turn left at the red-lit intersection; navigate the rotating traps |
| Suffering #2 | Free Sunny’s Soul | In the area overlooking Leviathan where The Chatterer appears, turn around when arches come into view |
| Suffering #3 | Give Charlotte’s Heart to Sunny | On the main route after the save point when entering the Labyrinth following Charlotte’s defeat |
| Pain #2 | Give Charlotte’s Heart to Sunny | Past the paired wall spikes, investigate the left dead end, then backtrack through the spikes and take the right route |
| Suffering #4 | Hunt Marlowe → Exit the Labyrinth | On the third rotating octagonal section; adjust the second and third sections to reach it |
| Pain #3 | Hunt Marlowe → Exit the Labyrinth | After the ladder, align the two Labyrinth Cubes on the left with their neighboring platforms and apply fire to the room’s pillar |
| Pain #4 | Give The Sister of Mercy’s Heart to Sunny | On the main path upon entering the Labyrinth after defeating the Sister of Mercy |
| Suffering #5 | Later Hunt Marlowe sequence | In the open Leviathan-beam area, use the central flame on the right-side block, then raise the block |
| Pain #5 | Reclaim the Genesis Configuration from Bruno | Solve the painted-door picture by flipping the wall sections; the artifact is beyond the door |
For Suffering Pillar #2, the arch decorated with blue flames and gold details is your warning landmark: reaching it means you have passed the turn-around point.
For Pain Pillar #3, follow the newly accessible route past the fire-activated pillar and around to the artifact. Moving the cubes is part of opening that route.
Suffering Pillar #5 needs particular care. After revealing the artifact, retrieve the fire and send it back to the pillar to reopen the exit route. Dying in the Leviathan beam returns you to the manual save because this area has no intervening checkpoint.
The Pain Pillar achievement may unlock early at the fourth artifact. Even if that happens, collect the fifth to finish your Clive Barker's Hellraiser Revival collectibles checklist.
Keypad Codes, Inventory Expansions, and Weapon Upgrades
Locked cabinets and safes hold several useful attachments and capacity upgrades. Use this code list alongside the objective names, especially where later maps display incorrectly.
| Code | Location | Notable contents, where specified |
|---|---|---|
| 0199 or 9901 | Hallway cabinet after sneaking past Bruno | Try the alternate code if the first fails |
| 9891 | Cabinet beyond the bookshelf room with two enemies | Code clue is on the body in the nearby tub |
| 9606 | Safe in the southeastern graveyard house | Pistol Oversized Magazine Release |
| 1966 | Upstairs mansion cabinet in the southeastern room | Painting date plus the note’s 300 |
| 1952 | Cabinet near the Voyeur Ticket, in the Snake key room | SMG Laser Pointer |
| 1923 | Room immediately right after the puzzle-box door during Get to Marlowe | Revolver Hollowpoint Rounds |
| 1362 | Dead end south of the fourth shop | Assault Rifle Heavy Lower Handguard and inventory expansion |
| 8571 | Cabinet in the room revealed after the moving spinning trap | Clue appears on two televisions |
| 2342 | Cabinet in the later room containing the ladder | Look at walls facing away from the cabinet |
Inventory Upgrades to Check Before Leaving
Alongside the mansion and fourth-shop expansions, check these locations:
- Early statue room: security-office shelf on the eastern side.
- Graveyard house: green cabinet in the save-point room.
- South of the pagoda: safe in the hilltop shack; also contains the Shotgun Full Choke.
- Sister of Mercy stealth section: dead end around the left side of the lower area, attached to a chair holding a body.
Weapon Attachments Along the Route
During Find Another Missing Statue Part, search the southern dead end in the western campground with the exploding enemy for Pistol 45 Super Rounds.
During Get to Marlowe, inspect the suitcase behind the downstairs bar in the waterfall room for the SMG Skeletonized Bolt Carrier. After defeating the blob enemy, collect Assault Rifle Overloaded Cartridges from the western pedestal.
For Lord of War, buy the SMG Heavy Foregrip and equip it alongside the other upgrades. If the achievement does not trigger with the Drum Mag installed, replacing it with the Laser Pointer may help.
Later, during Find and Use the Missing Bell, the Assault Rifle Double Drum Mag sits on a table beyond two spinning Labyrinth traps. Run and slide through the second trap’s gap, then use the button on the right to stop the traps for your return.
Protect Nearby Missable Achievements
Clive Barker's Hellraiser Revival collectibles overlap with areas containing optional achievement conditions:
- A Quiet Place: escape the graveyard unseen without throwing distractions. Avoid picking up bottles or stones and save at the church.
- Red Dead Damnation: shoot all nine bottles beside the docked boat before pulling it in. Bring at least nine bullets; leaving for ammunition resets the bottles.
- Portable Guillotine: behead three enemies with the same melee weapon. A good approach is to repair a blade, weaken Unworthy until they flash blue, then strike their heads.
FAQ
Are Clive Barker's Hellraiser Revival collectibles missable?
Yes. The game has no chapter select, and its collectible guide treats everything as missable. Collect items at the first opportunity and check shop stock when story progress adds new purchases.
Do notes and documents count toward collectible achievements?
No. They add lore but are not required for collectible trophies or achievements. The achievement-related total is 27: five firearms, twelve recipes, five Pain Pillars, and five Suffering Pillars.
Does collecting every recipe also unlock Artificer?
No. Librarian requires every crafting recipe, while Artificer requires crafting every craftable item. Keep a separate crafting checklist so newly purchased recipes do not remain unused.
What should I do if the Pain Pillar achievement unlocks early?
Continue to the fifth Pain Pillar behind the painted-door puzzle. An early achievement unlock may occur at the fourth pillar, but collecting and activating all five completes the full route.
Continue with
 Clive Barker's Hellraiser Revival collector's edition GuideClive Barker's Hellraiser Revival collector's edition: Explore the $199.99 Cenobite bundle, puzzle box choices, Deluxe extras, and key shipping details.
More in Guide
Clive Barker's Hellraiser Revival achievements: Guide
Track Clive Barker's Hellraiser Revival achievements with a practical guide to combat challenges, crafting, collectibles, and both endings. Plan your run.
Clive Barker's Hellraiser Revival boss fights: Mercy Guide
Clive Barker's Hellraiser Revival boss fights: Beat the Sister of Mercy with fire, revolver headshots, and Genesis Configuration powers. Conserve ammo.
Clive Barker's Hellraiser Revival characters: Cast Guide
Meet Clive Barker's Hellraiser Revival characters, from Aidan and Sunny to Pinhead. Explore their roles, voice actors, and enemies seeking the puzzle box.
Clive Barker's Hellraiser Revival codes: Keypad Guide
Clive Barker's Hellraiser Revival codes unlock safes, lockers, and cupboards. Find nine combinations, loot details, and tips for the Codebreaker trophy.
Join the community
Official channels for news, updates and player help: